DIY Jewelry Dishes
 Happy Monday! Today's craft was inspired by a need. A need to create something cute AND practical. After the holidays I spent a lot of time re-organizing my studio and realized that I wanted a better way to display my current favorite pieces of jewelry. After searching for the perfect little dishes to no avail, I decided to take matters into my own hands (literally!). A quick trip to the craft supply store, and 1 hour spent deciding on the color scheme later I was ready to go!
One thing I can promise is this...you will definitely want more than one, and this craft is actually pretty simple. After making a few too many I'm starting to think that these are great little gifts to give someone who is an avid jewelry lover. Happy Crafting!

Aside from the above, you might want to roll out the clay on some wax paper to avoid staining your table.

After you work and warm up the clay, roll it into a smooth little ball.

We used a smooth / flat book to flatter the ball out before using the rolling pin. You can alternate between the two. The rolling pin might create little divots, so the book comes in handy to really get a smooth surface.

Once the clay is flay and wide enough for the cookie cutter, push down once and remove the excess clay. Remove from the cutter and move onto the next color. Sidenote, make sure to wipe the cookie cutter between colors. We started with the hot pink and found little pieces of hot pink in our other lighter colors. Luckily we were gold foiling those so we covered up the mess but it can be avoided.

Before baking the clay gently lift and fold the edges to create a dish / bowl shape. We played around with the edges and made some flatter and some more bowl-like. Either way comes out super cute! From here, lay a piece of wax paper on a baking trey and put all the clay dishes in the oven. Read the label of your clay to determine the temperature (ours was 275) for 20ish minutes. Let cool for a but before moving on to the next step.

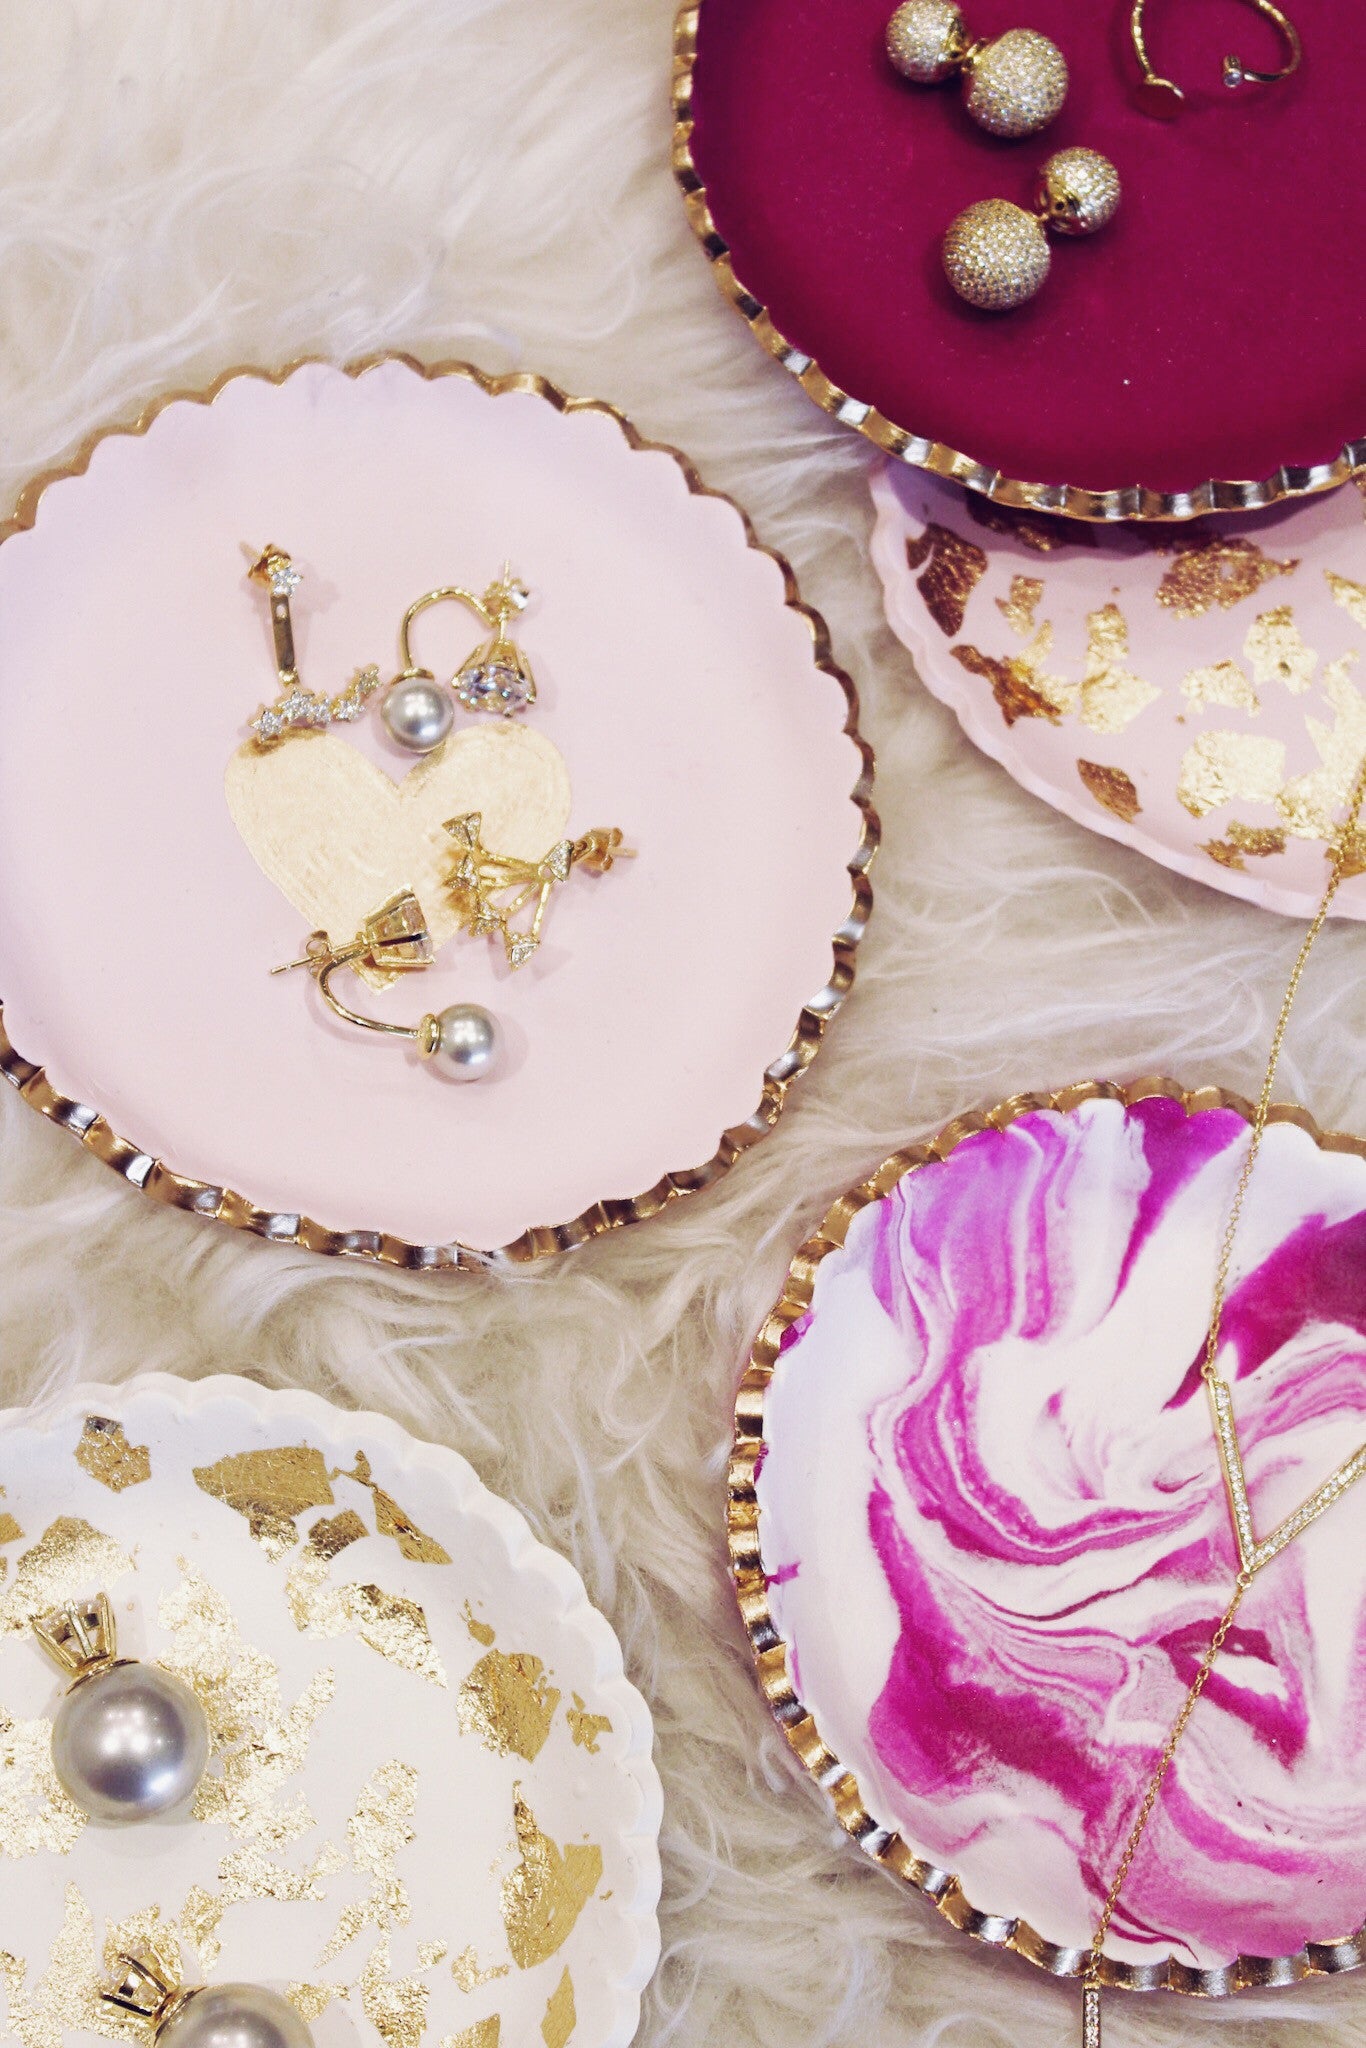
We went straight for the gold foil to fix our little imperfection and it worked perfectly. All you will need to do is crinkle up little pieces of gold foil and press them directly onto the bowl. There's no way to mess this up--just rip and stick!

Our last and favorite step is painting the liquid gold onto the edges of the dishes. The Martha Stewart liquid gold paint is literally what it sounds like. It goes on super easy, dries fast, and makes absolutely everything look fabulous. It was a dead give-in that we were going to use it on this project. We decided to get a little fancy and draw a heart on one of the dishes too, however, after we were done we desperately wanted to draw a diamond ring on one...next time!

Leave a comment
Comments will be approved before showing up.


